Hi guys! As you may know I’ve been doin quite a bit with acrylic paints lately. You may remember the zombie nails I did for Halloween where I mixed the paint for the background. I’ve mixed paints for a couple of other things as well such as the pink ribbons for my Breast Cancer Awareness mani. Well when I was mixing the paints I happened to notice that it actually takes a good bit of mixing before the colors really come together which brings me to this mani. I also noticed how it kind of looked like marbling.


How many have trouble with water marble manis? I mean, really, its pretty tricky to get the hang of. And then you add in all the little annoyances such as tape or bubbles, trying to get the design right and not being able to get it or the polish drying too quick. Seriously, unless you’re Colette from My Simple Little Pleasures (who actually really inspired me in the nail art ways) water marble can be super hard and super frustrating! I am, if nothing else, lazy and a huge fan of the easy way lol.
So here we go!
What you’ll need:
Acrylic Paints in whatever colors your heart desires

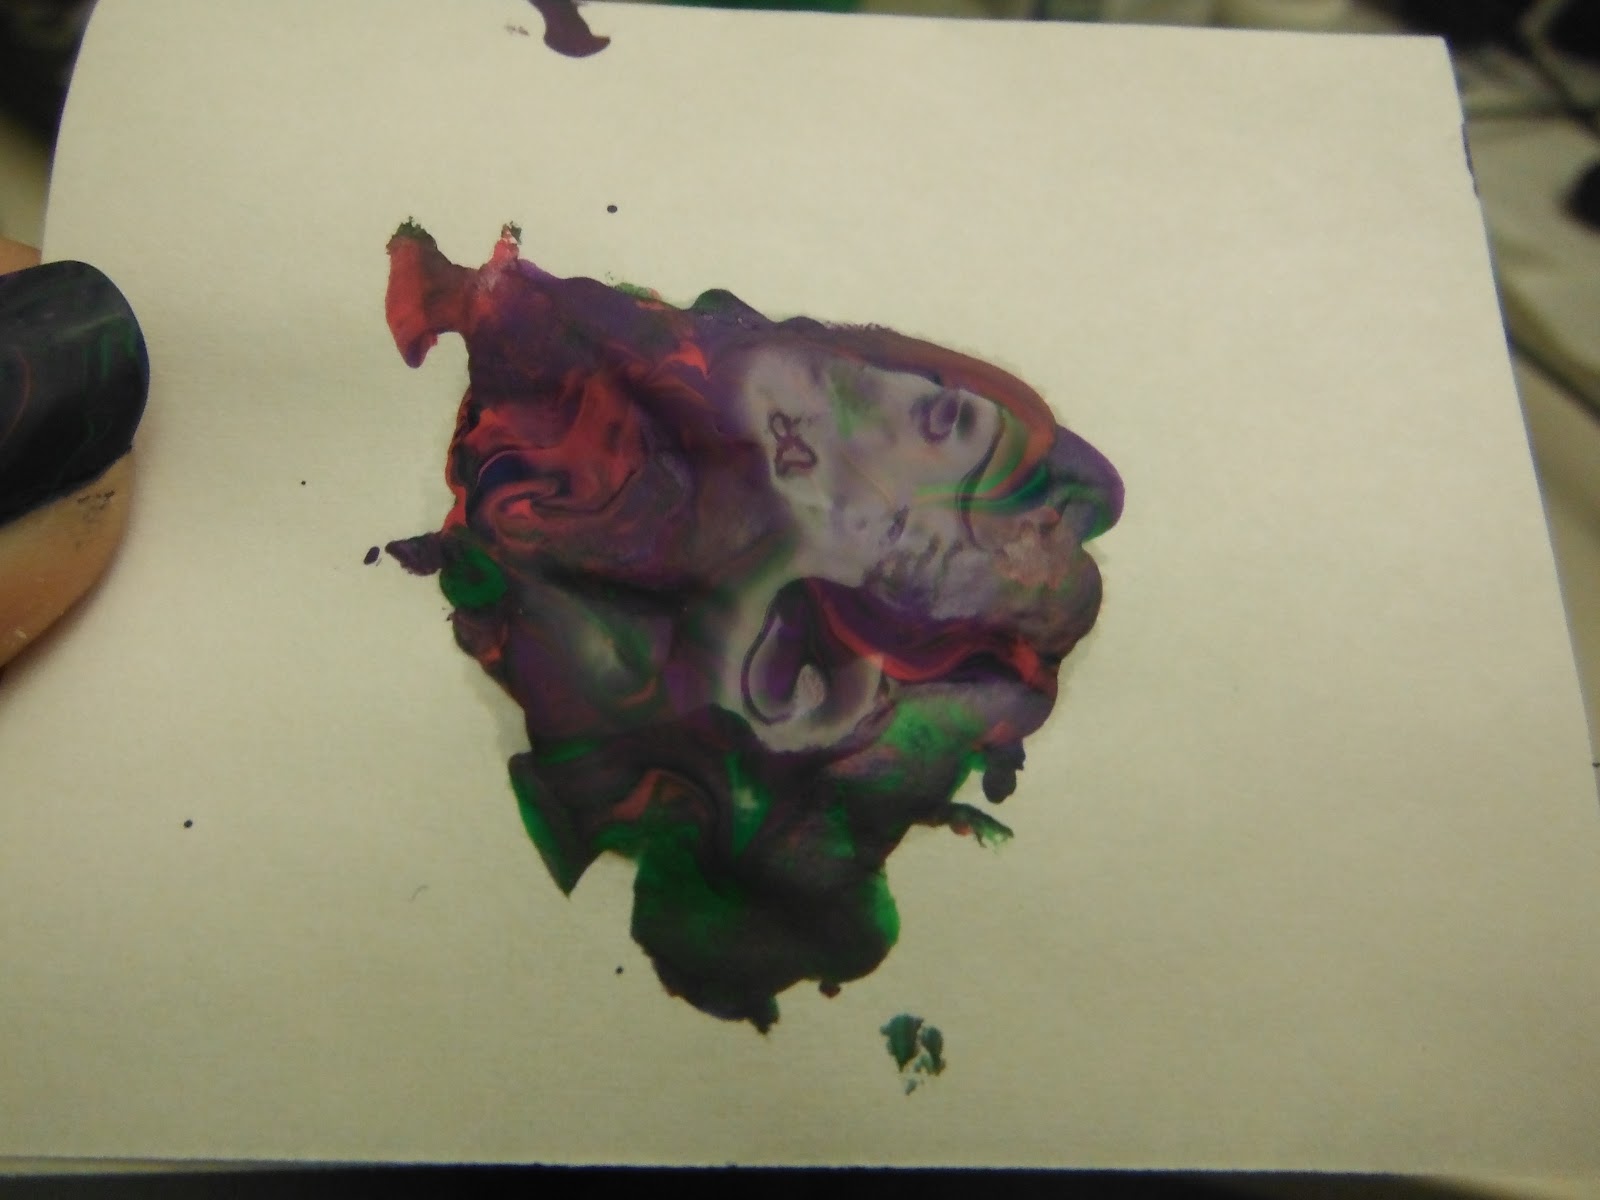
Something non-porous to put the paint (I’d recommend either paper or something flat and plastic)
A paint brush if you’d like (doesn’t matter what size, shape or type)
How to do it:
Step one: Pick the colors you like. For this I used Too Blue, Purple Iris, New Shamrock and Magenta Brilliant. All by Apple Barrel, all 57 cents at my local WalMart store. What cheaper and easier? Yeah I’m down for that lol.

Step three: Just like water marbling, you will dip your finger nail down into the paint. Don’t worry about taping, or trying vaseline or anything else. It’s easy to clean off. If you don’t like it just dip again! That easy, really. You can also add paint to the nail with the brush though its more of a muted effect (see middle finger).


Step four: Let it dry. Now this isn’t polish. It doesn’t take forever and a half to dry. The paint does dry matte but you can change that if you would like.
Step five: Topcoat the hell out of it. Seriously. Wrap your tips like crazy and make sure all the paint is covered by topcoat as acrylic paint will come off with water.
Step six: Clean up! I left the paint on in most of these pics just so you see how messy it is. Don’t avoid it, enjoy it. Let it remind you of fingerpainting as a kid lol. Really once your top coat is dry just go wash your hands with soap and water makin sure to rub the paint. It comes right off (it took me about 2 minutes max to get all the paint off that I didn’t top coat over).


A few things to note:
Miss a spot when dipping but don’t want to dip again? Use the brush and just add a tiny little bit. Blend or not it’s up to you.
You can also use the brush to put the paint directly on your nails, you just don’t get all the swirly effects vibrantly.
Acrylic paint is less durable on your nails than polish, topcoat is very important! I type all day and I do have a little tip wear and a few chips from where I didn’t wrap my tips as well as I should have.
Its not all super thick like polish is and it all lays flat. A huge plus for me!
So what do you guys think? Will you try it?
Here are all the pics:
 |
| Left thumb my favorite nail |


 |
| Left ring finger my third favorite nail |


 |
| Middle right, my second favorite nail |


They are a lot more vibrant in real life, for some reason my camera doesn't like this mani lol. Let me know what you think in the comments!
As always, thanks for stopping by :)


